
.avif)
One 3-Step Stimulation Peel by Dr. Zein Obagi, is a peeling with TCA, retinol, salicylic acid, lactic acid and glycerin, which will peel and renew the entire surface of your face within 7 days, with the aim of achieving a smooth, tight baby skin. That sounded intense to me, but oh so interesting to the ears! Something I definitely wanted to try. So I just planned the peeling on January 2, why not? 2019 has come, so I could get rid of that “old skin”. Off to that new year and that new radiant skin! Read more about my experience below and watch the photo report from the days after the peel.
The preparation
The ZO 3-Step Stimulation Peel is not something you can just undergo. The skin must be well prepared in order for the recovery to run as smoothly as possible afterwards. Ultimately, of course, you want a wow effect. Last September, I took an in-depth photo of my face with the Visia Reveal camera in order to compile an appropriate protocol of ZO Skin Health products based on this skin analysis. Conclusion: Oily skin with diffuse redness and lots of pigment.
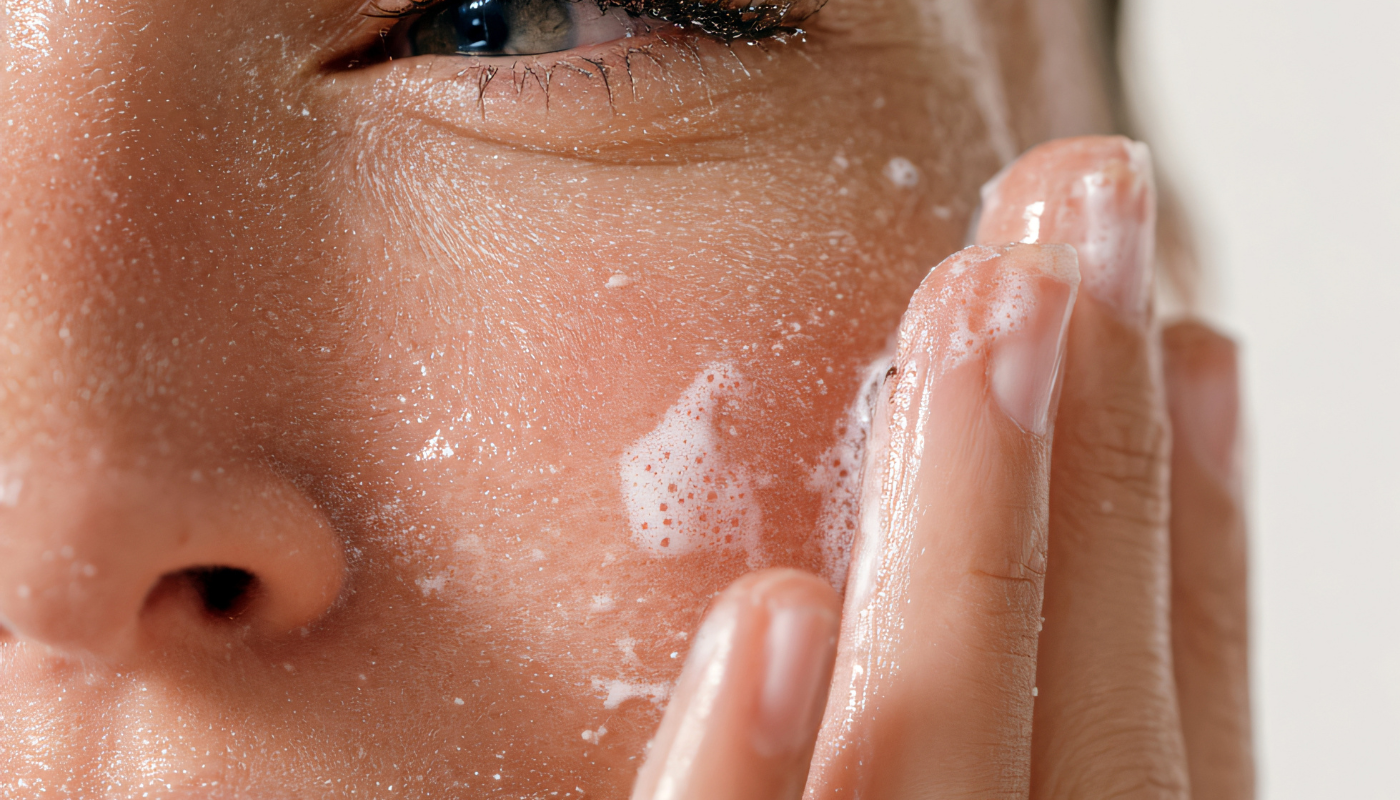
My cleansing ritual consists of Exfoliating Cleanser, Exfoliating Polish, and Oil Control Pads. Then I apply Daily Power Defense, with two additional serums; Rozatrol anti-redness serum and Brightalive serum to reduce pigment. I mix the latter serum with a doctor's prescription 'Hydroquinone', issued by our cosmetic doctors, to make the pigment cell even less active and have a faster effect. As a final step, I apply an SPF, Daily Sheer, with a factor of 50, during the day. It seems like a lot, but it only takes me 3 minutes. In the evening, it is important to build up retinol in addition to cleansing and serums. I alternate two strong products, Wrinkle & Texture Repair 0.5% and Retinol Skin Brightener 1%.
This entire protocol is my preparation for peeling. It really took several months before my face was able to endure retinol every night. After sticking to this regimen of products for about 2.5 months, I already noticed a significant improvement in my skin. Wonderfully soft, fewer imperfections, smoother and tighter.

Peeling day
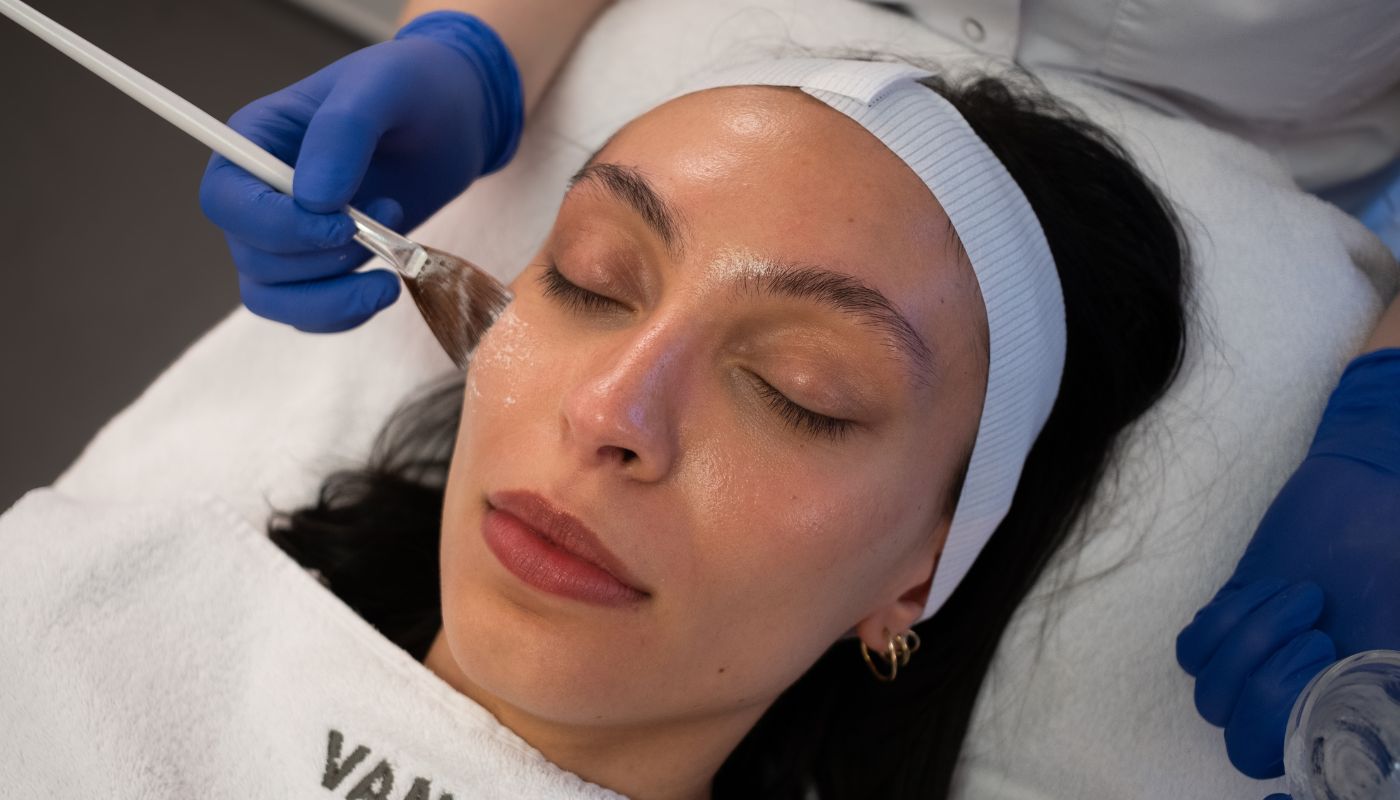
January 2 is D-day and I find it very exciting. Skin therapist Danique and intern Ruby take pre-photos and let me sign the treatment agreement for the peeling. They then explain the procedure step by step again.
My skin is thoroughly cleansed, then the peeling is applied to my face in 3 phases. Applying this liquid almost immediately causes an intense burning sensation and a warm 'throbbing' face. Fortunately, a blower provides cooling and after 3 minutes, the worst burning sensation has disappeared. Danique sees that there has been a good smooth 'frosting' layer all over my face and then applies the 6% Retinol cream, which will promote the boredom process in the coming days.
As a final step, Revitatrol is applied, a calming and restorative product. After 30 minutes, it's already over. Fortunately, my car is parked close by because my face is red and blotchy. For the rest of the evening, my face still feels slightly burning and the skin itself is red and sensitive when touched. Fortunately, I kept my agenda free of social appointments this weekend.

The day after the peel
I can gently cleanse my face with Hydrating Cleanser. My face is a bit redder than usual and there is quite a bit of swelling on my cheeks and cheekbones. The skin itself feels a bit dull. After cleansing, I apply the bag of 6% Retinol cream and a layer of Hydrating cream to soothe and soothe the skin. I received both products after the peeling. My skin is extra sensitive to daylight this period, so I apply a generous layer of Sunscreen + Primer SPF 30. I repeat this several times a day.

Day 2 to 8
The molting is about to begin! The skin is getting tighter and the first loose skin is near the wings of my nose and around the mouth. A movable area, of course. I'm not allowed to wear it, so it's an absolute sport not to sit there. The loose skin slowly curl up and feel hard, I'll call it “my crisps” in the coming days.

I carefully cut off the increasingly long skin with small scissors, to remain somewhat presentable. The new skin is still quite pink, so I apply the SPF several times a day. From day 3 and 4, the skin that has yet to peel turns darker, just like a snake's molt. After 5 days, the last bits of “old skin” are on my cheeks and forehead, it draws my right eyelid slightly down as you can see in the picture.
I can't wait for the peeling to finish. On and next to the nose and around the mouth, the skin has already fully recovered and I'm really seeing a good result, the skin is completely smooth and the pores are much smaller. After 8 days, the molting is over. The skin is still quite pink and vulnerable locally, so I only use Hydrating Cleanser, Daily Power Defense and Sunscreen + Primer SPF 30.


The end result — after 12 days
12 days after the peeling, I took the last photo to properly assess the end result. I am completely free of pigmentation and have got beautiful, smooth, mirror-smooth skin with a healthy glow. In particular, the large pores around my nose and the dry lines on my forehead have disappeared. Just a little blush, contouring and Hydration Spray from Jane Iredale's mineral makeup line and I'm ready for the day!
Tip: Next time, I'll make sure to keep my agenda free a little longer, because the molting took longer than I had previously estimated. As a result, I felt less comfortable in the supermarket and in a restaurant, so mentally it was a “thing” for me. Now that it's all over, I'm very happy with the end result and it's definitely something I'd like to do as maintenance every year.
Do you also have a rough skin structure, scars from former acne (PIH), or pigmentation? Who knows, maybe the 3-Step Stimulation Peel is for you! Want to know more? Check out the page Chemical peels.

.jpg)
De dag na de peeling
Ik mag mijn gezicht voorzichtig reinigen met Hydrating Cleanser. Mijn gezicht is wat roder dan normaal en er zit behoorlijk wat zwelling op mijn wangen en jukbeen. De huid zelf voelt wat dof aan. Ik breng na het reinigen het zakje 6% Retinol crème aan, en een laag Hydrating crème ter verzachting en kalmering van de huid. Beide producten heb ik meegekregen na de peeling. Mijn huid is deze periode extra gevoelig voor daglicht, dus ik breng een royale laag Sunscreen + Primer SPF 30 aan. Dit herhaal ik meerdere keren per dag.
Dag 2 t/m 8
Het vervellen gaat nu beginnen! De huid staat steeds strakker en de eerste loszittende velletjes zitten bij mijn neusvleugels en rond de mond. Een beweegbaar gebied natuurlijk. Ik mag er niet aan trekken, dus het is een absolute sport om er niet aan te zitten. De losse velletjes krullen langzaam omhoog en voelen hard aan, ik noem het de komende dagen ‘mijn krokantjes’.
De steeds langer wordende velletjes knip ik voorzichtig af met een klein schaartje, om nog enigszins toonbaar te blijven. De nieuwe huid is nog vrij roze, dus ik breng meerdere keren per dag de SPF aan. Vanaf dag 3 en 4 kleurt de huid die nog moet gaan peelen steeds donkerder, net als het vervellen bij een slang. Na 5 dagen zitten de laatste restjes ‘oude huid’ op mijn wangen en voorhoofd, het trekt mijn rechter ooglid een beetje naar beneden zoals je kunt zien op de foto.
Ik kan niet wachten tot het peelen klaar is. Op en naast de neus en rond de mond is de huid al volledig hersteld en ik zie echt al een goed resultaat, de huid is helemaal egaal en de poriën zijn veel kleiner. Na 8 dagen is het vervellen voorbij. De huid is plaatselijk nog vrij roze en kwetsbaar, dus ik gebruik alleen Hydrating Cleanser, Daily Power Defense en Sunscreen + Primer SPF 30.
%20(1).jpg)
.jpg)
Het eindresultaat – na 12 dagen
12 dagen na de peeling heb ik de laatste foto gemaakt om het eindresultaat goed te kunnen beoordelen. Ik ben volledig vrij van pigmentvlekken en heb een prachtige egale spiegelgladde huid gekregen met een gezonde glow. Met name de grove poriën rondom mijn neus en de droogte lijntjes op mijn voorhoofd zijn verdwenen. Alleen een beetje blush, contouring en Hydration Spray van de minerale make-up lijn van Jane Iredale en ik ben klaar voor de dag!
Tip: Een volgende keer zorg ik dat ik mijn agenda wat langer vrij houdt, want het vervellen duurde langer dan ik van tevoren had ingeschat. Ik voelde me in de supermarkt en in een restaurant daardoor minder op mijn gemak, dus mentaal was het voor mij wel een ‘dingetje’. Nu het allemaal achter de rug is, ben ik ontzettend blij met het eindresultaat en is het zeker iets wat ik elk jaar als onderhoud wel zou willen doen.
Heb jij ook een grove huidstructuur, littekens door vroegere acné (PIH), of pigmentvlekken? Wie weet is de 3-Step Stimulation Peel iets voor jou! Meer weten? Kijk op de pagina Chemische peelings.
FAQ
Curious which approach suits your skin?
De ZO® 3-Step Stimulation Peel van Dr. Zein Obagi is een intensieve behandeling die krachtige huidvernieuwing teweegbrengt. Dankzij de unieke combinatie van actieve ingrediënten wordt de huid diepgaand aangepakt, met als resultaat een egale, frisse en stralende huidstructuur. Hoewel het herstelproces enkele dagen in beslag neemt, zijn de resultaten het absoluut waard: verfijnde poriën, een egalere teint en een gezonde glow. Bij onze kliniek begeleiden we je zorgvuldig, zowel in de voorbereiding als in het herstel, om het maximale resultaat te behalen. Heb jij last van pigmentvlekken, grove huidstructuur of littekens door acné? Dan zou deze peeling ook voor jou een mooie oplossing kunnen zijn. Neem gerust contact met ons op voor een persoonlijk consult met een van onze huidtherapeuten. Samen bepalen we of de 3-Step Stimulation Peel past bij jouw huidconditie en doelen.
SCHEDULE YOUR PREMIUM CONSULTATION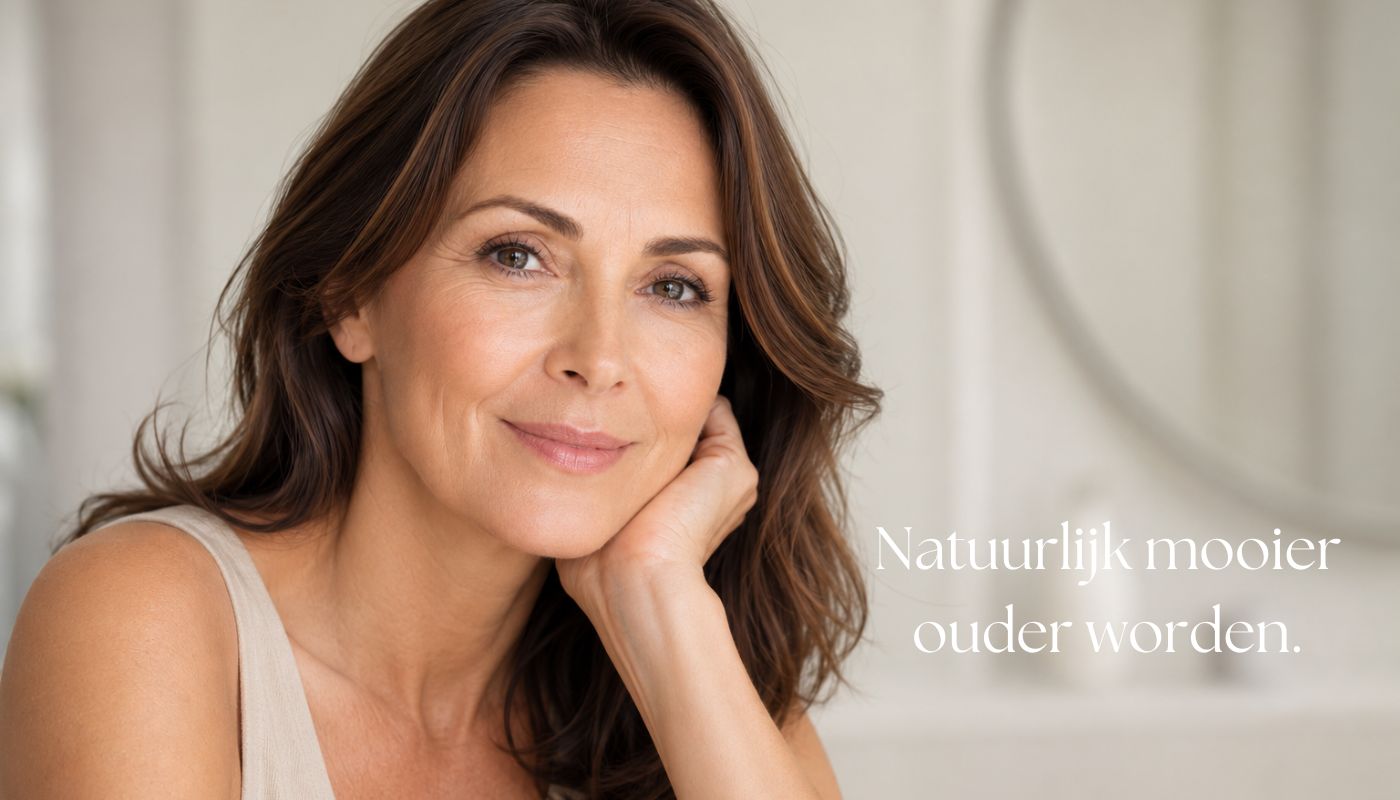

.jpg)
.avif)
.avif)


